Friday 31 August 2012

Volunteering; The Sixth Week

I have gotten all confused and befuddled. I thought this week was week 6. Turns out my head is a week late. Gah! Anywhooooo. Week six, what happened?

Oh yes! On the Sunday, the MCC had an open day! Myself, Lukas and Lynsey were around to show people around the Natural Science floor, and to speak to visitors about the work we are doing on the collection here. It was a very long day (I had been at work in the morning!) but very enjoyable. I got the chance to walk around the main store on my lunch break, and I managed to see quite a few items that I remember from the old museum. I also held a corn snake! Awesome.


Back in the MCC, Sarah and I continued to work our way through the boxes of 'stuff'. These contain all sorts of wonders, mainly miscellaneous bones! In one box, we found a massive slice of bone, which turned out to be a section though an Elephants skull. Impressive.


We also uncovered a box with Ox bones in.. They looked as though they had once been on a display board, and were in varying stages of being sawn, processed, turned and carved! We found several spoons, some teething rings and a blank for a paper knife. It was really peculiar, and felt a bit weird looking at it all.. Who would want an Ox bone teething ring?!


On the Thursday I was by myself, so I cracked on with the boxes. I managed to finish one box, which meant that we had finished one side of the shelf!! (But then we discovered someone else had dumped more boxes there, booo). During the course of the day, one box contained this:


A fish skull! Not sure what type of fish, I thought maybe a cod? That's my hand on the left for some sort of scale. It was really fragile.. All the bones were wired together, but there were so many! Loads of tiny bones in the middle, and bits inbetween other bits, extra plates tucked in places. Really amazing to look at and hold! It was really delicate - each bone was almost transparent, almost like thick paper. Amazing.

Wednesday 29 August 2012

My Other Blog

I run another blog, a newish venture, called A Brummie's Guide to Birmingham. The aim of this blog is to showcase what else there is to offer in Brum, what else there is to see and do, aside from the usual Cadbury World, Thinktank, Bullring stuff. So far, posts have included walks along the River Rea; National Cycle Route 5; Canals and some bricks. I've got loads more to write up, and loads more places to visit - just in my local area!! The more I blog the more I find. Go and have a read, maybe possibly share it around, and then maybe visit? :)

Winterbourne House and Garden, B15

Tuesday 28 August 2012

Pepper Update

Not growing very much - I don't think they've changed in size since I last saw them (three weeks ago or so). The greenhouse they're in is not heated, so this may be the problem. They have plenty of water (the muddy roots of the weeds I pulled proved this). I will leave them for another week or so because the weather is supposed to be warming up, and then if there is no change I think I will dig them up, pot them up and bring them home to live in my bedroom (south facing window and all that jazz) :-)


To be honest, I'm just glad they're still growing/still there..!

Sunday 26 August 2012

Work, Uni, Jobs, Uke, STUFF

I've handed in my notice at work.
I finish on September 1st.
My doctor is writing the letter I need to return to university.
I'm applying for a job that I don't think I have much chance getting, but if I do, it'll be freakin' awesome.
Losing weight isn't going very well.
I haven't picked up my uke in ages.
I don't think I'll worry about getting another job straight away.

Swings and roundabouts?

Saturday 25 August 2012

Sorting My Life Out and Planning The Future.


It’s amazing how an event or conversation can change your outlook on what has happened in the past, your present situation and what lies ahead in your short and distant future. It’s amazing how three of my relatives who I hardly ever see, let alone speak too, have made me realise that all I want in this world is to leave this country and move far, far away. It’s made me realise that I *need* to go back to uni – getting a degree is my stepping stone to a new life, a new chapter, a new me. It’s my chance to leave everything I hate in and about this country – which is most things – and start anew. Something just happens and something just clicks and everything falls into place, and you realise, all you want is to leave everything and everyone you know – not to make a statement, not to be radical, not to be a loner, but to not have to think about it. To not have to worry about saying the wrong thing. To not have to worry about doing the wrong thing. To not worry about how people you were once close to react. I think, feel, believe with everything in my core that it’ll be quite nice to be alone in a strange land by myself. My life does not belong in England. I do not belong in England. I do not have a future in this country, not a happy one anyway. A lot of people don’t understand this. A lot of people don’t understand what I mean. No one can see it from my point of view because they haven’t lived my 23 years. They don’t quite comprehend my desire to leave my country of birth, to leave everything, to leave my family, to leave my friends (the few that I have), to leave the hobbies that I enjoy here.

The next stage of my life starts within the next seven days. I am quitting my job after just 3 months. I am going to start reading textbooks related to my course. I am going to learn igneous and metamorphic petrology because it is my worst subject area. I am going to email my welfare tutor and start the process of returning to uni. I am going to speak to my doctor and get medical clearance to return. I am going to start going swimming. I am going to take control of my life and make it go the way I want it to go. I’m going to read more blogs and make more things. I’m going to get out into the world more. I’m going to cut down on my internet time. Updates will probably be posted here, and I’ll still be blogging over at A Brummie’s Guide to Birmingham.

T-ra.

Friday 24 August 2012

Adventures in Oxford

I spent an evening in Kingston Upon Thames, and the day after in Oxford! Here be pics.

Kingston


Oxford 


:-)

Friday 17 August 2012

Volunteering Week 5!

The halfway point! It both seems like we've spent longer on this project and haven't been working on it that long. It's quite a strange feeling!


This week, we all took part in a Meet The Volunteer day at Thinktank Science Museum, which was really successful - there were far more people there than I ever expected, and it wasn't just children & parents. Some of the staff came to have a look, the children had their siblings, friends, parents, family, friends with them. One man appeared to be with his carer, and some people even came back for another quick look.

We had three stalls set up - one had a few taxidermy specimens and photos that Lukas had taken at the MCC. Another had a simplified 'tree of life' and some specimens - some fossils, some beetles in plastic cases, a frog in resin, some skulls and an alligators head. The third table was the colouring-in table, which was quite a hit! I had such a great day, talking to people about our work, what we are doing and why. The children who came were all excited at being able to touch the animals and the bones. Not many people realised or believed us when they were told that they were all real, and once were very much alive! Even the Goliath Bird Eating Spider got a lot of love. We had a lot of positive feedback during the day, and I'm glad that I was part of it.


From the Thinktank facebook page

On Thursday, Lukas and I continued with working through the boxes of bones. As we had started working on the Muntjac deer, we decided to finish it. It turned out we had 11 small boxes of bones - we actually ended up with 35 new items! It took us all morning to finish cataloguing it all.

Muntjac deer femurs. ~6 inches long!

Muntjac deer tarsals and carpals (feet and hand bones!) - there were 63, very small, bones all in one box. We gave the box one number because it would take too long/be a bit pointless giving each individual bone a number!

The computer software, MINISIS, showing how many items we had done after just 4 boxes.

This week was also our last week of working with Katie! She is on to pastures new, up in York. It has been brilliant to work with her - despite her knowledge base being social history, she has been pretty good at the natural sciences stuff!

This Sunday August 19th, the Museums Collection Centre (MCC) will be having an Open Day! If you are around, come down! You can walk around the storage facilities and see the object we have in the collections, as well as some of the items that were on display in the old museum but are now in storage. For the first time, the warehouse will be open, so you can walk around the part where I have been/am working! The walkway will take you around most of the warehouse, so you can see the birds, some of the taxidermy animals and some other objects we have up there. Come along! Entry is free, and there will be a falconry display too!

Monday 13 August 2012

How to Make... Lined Curtains!

The time had come. Another few curtain hooks had broken. The end was hanging down. The edges were frayed. The material just didn't go. New curtains just had to be made.

So off I went to the 
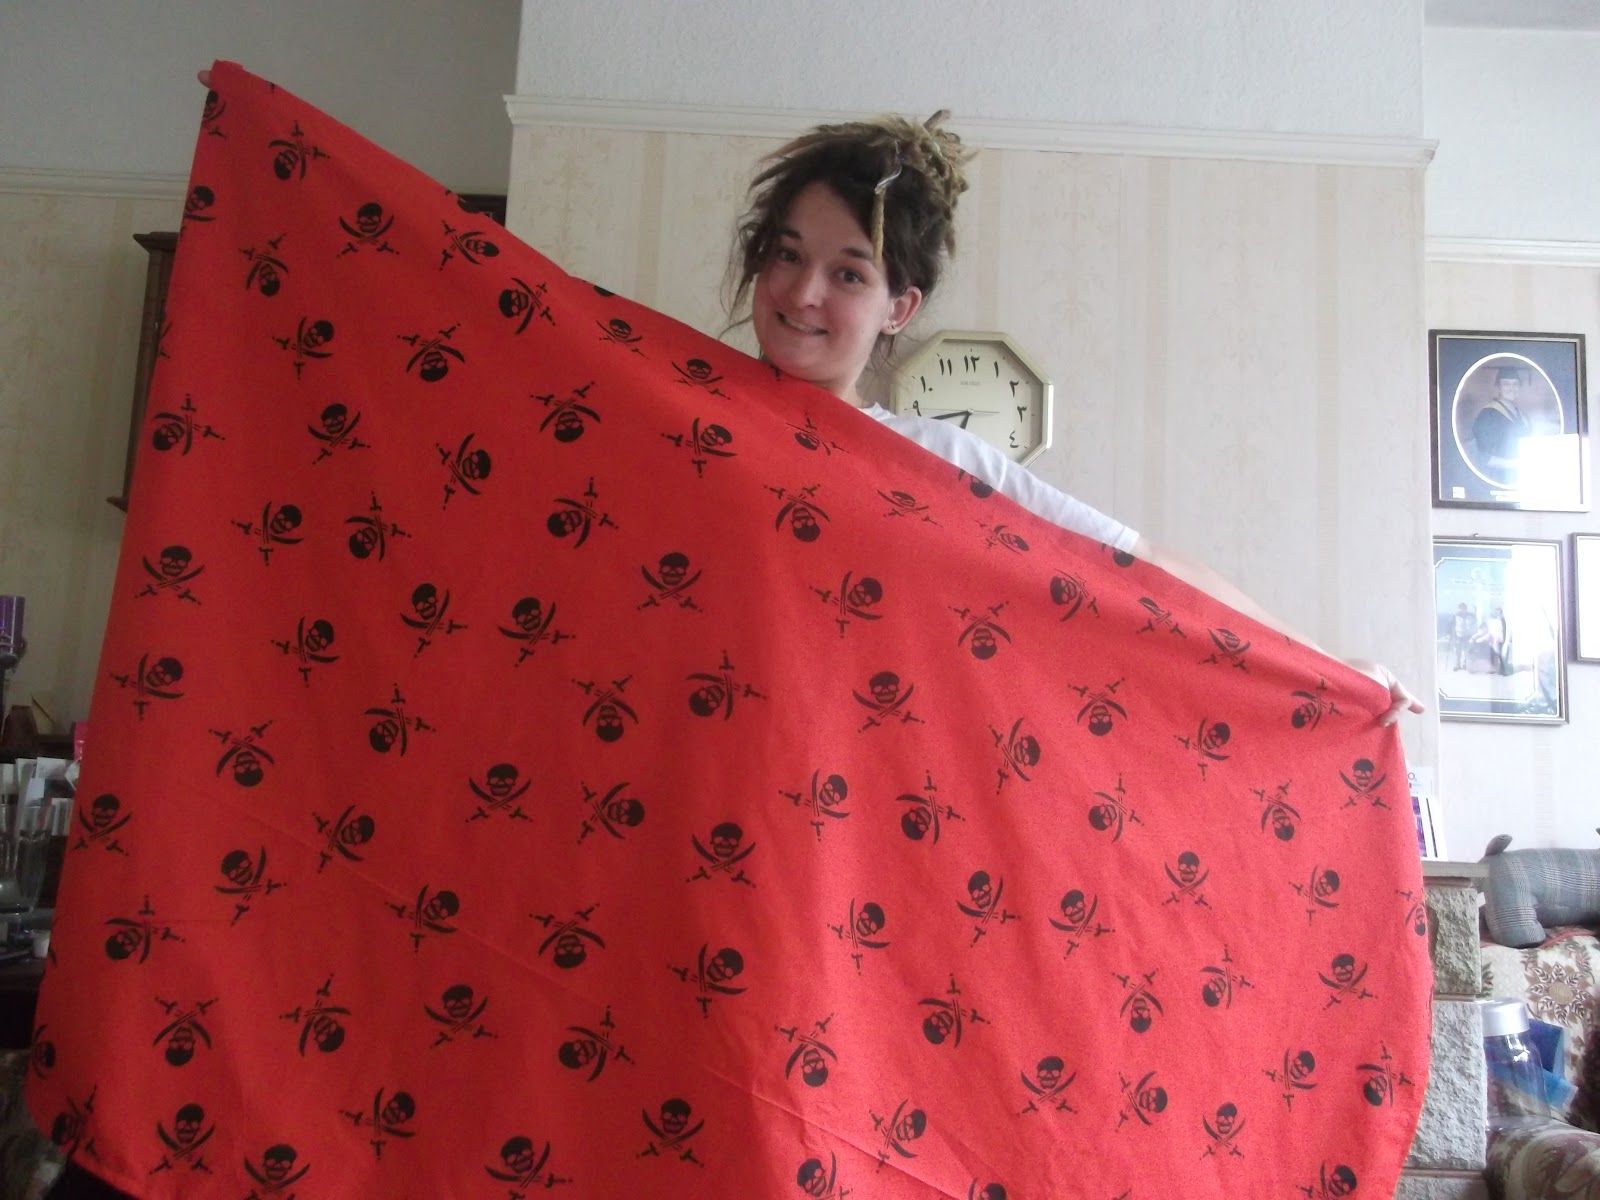
Rag Market to peruse the material shops! I found some gorgeous white cotton, with skulls and roses on, but at £8 a metre it was just too expensive. I settled on some red cotton from another stall, which you'll see later on ;-)

So! Destructions for making lined curtains! Please bear in mind that I'm not at all qualified in sewing - I didn't do textiles, I hand sew everything and I'm not very patient. Therefore, this is PERFECT for an absolute beginner, because, well, I am one!

First thing's first; take pictures of Crappy Old Curtains. 
Crappy Old Curtains

Relocate to somewhere bigger, I.E., somewhere large enough for measuring, cutting, swearing, putting cups of tea on... (as in, not my double bed, which is where I had planned to do it). Enter, the Front Room.
Front Room. Big table!

Gather your material! Good eh? £4 a metre, 60 inches wide. I got 4 metres - more than enough for my curtain requirements. Also pictured is my HUGE new dressmakers chalk - my brother reckons it's actually a giant guitar pick. Also note 50cm ruler from when I was in year 8. Also also note, the material is inside out, so I can draw all over it and not worry.
Nearly 24? Me? Nooo...

Measure, measure, and measure again!!! It's easier to remove excess than it is to add more. MEASURRREEE. And then, cut. Awesome scissors below are 'proper' dressmakers shears. They're heavy, very sharp and very orange. They are flat on one side for cutting against a flat thing! They were my inheritance from my Nanny a few years ago.
The first cut is the deeeeeeeeeeeeepppesstt...

Blackout lining. Wonderful stuff. I do not, can not and will never understand people who have unlined curtains!! How do you sleep? My lining also came from the Rag Market, from a different stall. It was less than £5 a metre I think. (I can't remember). Note also different chalk. Can't use white chalk on pale material ;-) (Also from Rag, also from different stall. I love the Rag.)

You want your lining to be slightly smaller than the curtain material. From each edge, mine was 2cm narrower, and the height was 4cm shorter from the top and 2cm from the bottom. I cannot emphasise measuring enough!! (More on this story later).
Measure, measure, measure!! I have drawn a line on it because I cannot cut straight to save my life. Cut along this line. The lining is pinned because I had folded it in half to fit in on the table.

Lay your lining on top of your curtain material! Woooooo. Sounds simple? Wrong. You want your curtain material wrong side up (so nice side against the table, underside facing you) and the lining is smooth side down, so the furry side is facing you. I have no idea if this is the correct way to sew lining, but it's how my Crappy Old Curtains were done, so I did it the same way. To do the edges, I folded them twice, so that I had a neat folded edge (looks sweet, doesn't fray). Pin every few inches. Don't prick yourself.
Fat fingers for scale. My sides were 2cm, so folded into a 1cm border (folded twice for neatness). The top (to the left) is more like 4cm, which folds to about an inch.

I folded the top part afterwards. Check out my corner! Sweet. You can also see the difference between the top fold and the side fold. The lining itself is not folded - it fits neatly to where the material folds around it. That makes no sense.
Hospital corners also work.

Realise that you haven't actually cut the right length. Rectify. Look at all that spare material!
Oops.

Get yo' momma to wind a bobbin, set up and then teach you how to use a sewing machine. You could hand sew (I was going to but then Nice Lady sets it all up for me) :-)
Mommy <3

Sewing!! I haven't used a sewing machine since.... 2003?
If you do the pins the same way that I did, do not sew over them!! Remove them just before they get to the foot. If you insert the pins perpendicular to direction of sewing, you should be able to sew right over them.

Ch-ch-check it out!
Neat. (OCD).

Do this for all the edges and corners, and then take a photo! Your (possibly) first ever curtain is DONE.
Wooooooooooooooooooooo!

Now you're a Pro, and you'll decide to rush the next one, because the first curtain has taken you nearly four hours already. You'll miss measurements, and your head will be working in cm, mm and inches. You'll forget numbers and pin it wrong, and then this will happen:
Oops.
Turns out that First Curtain is too long, and, err, not straight. At all. What ensued after this was A LOT of measuring, re-measuring, measuring again, measuring against Crappy Old Curtain, swearing, measuring and re-pinning. I then decided I was too tired, so I left it.

Enter next day! I got my mother to check it all, and we decided that it was fine. I rectified the problem above, by stitch-picking the whole side, separating the two fabrics, cutting, measuring, folding and re-pinning, before re-sewing. I then laid Second Curtain on top of First Curtain and voila! They matched! Mostly.
Woo! Progress.

Now it is time to add the curtain hook strip material stuff. Also from the Rag Market. Also from a different stall. I like the wide stuff because it helps to stiffen the top of the curtain. Although it is pinned a distance away from the top, in actual fact, I sewed it with a 5mm gap from the top. I laid it onto the curtain, pinned it, and left about 2-3inches sticking out either side.
The end is in sight!!

Sew along the dotted lines!
You can see that I have already sewn along the top line - that's my 5mm I was talking about. Sew along the bottom line the same way. At each end of the strip there are three strings - do not sew these down. You want to pull them out of their holes, which will be an inch or two into the curtain width (so away from the edge of the curtain). Sew underneath where these strings were, to fix down the strip edge. This will prevent fraying. Cut the hook strip so you cannot see it from the front of the curtain. Leave the three strings loose (for now).

Check out your sewing!
sXe*

In the interim stages, sew both curtains and the hook strip stuff. Add curtain hooks to the curtains and attempt to put them on the curtain rail. Realise that the lady in the Rag sold you four mismatched bags of hooks, so only one bag fit on the curtain rail. Go to Wilkos to buy more. They don't have any. Decide to buy a complete new curtain track, with fixtures and hooks included. Come home. Take down old rail. Put up new rail. Take down new rail and cut to size. Put it up again. Add new curtain hooks to curtains. Put curtains on rails. Be amazed at how they fit and how perfect they are and how awesome you are and how great they look! Play with them a bit - new curtain rails was a good decision.

Close your curtains so they are fully extended. Remember those three white strings? They're used to gather the curtain material, to make it look good (or something). If you want your curtains to be gathered at the top, pull these three strings to get the amount of gather you want - my curtains were not long enough for this - and then tie them in a knot to keep them that way. As my curtains were too short, I didn't pull these strings, so I just tied them off to stop them pulling through. Trim off any ends. Admire!

Woohooo! My first ever pair of curtains that I've ever made! Also note - the length difference between left and right curtain. Oops. It's all good though, because the right hand curtain was my first curtain, and I had already hemmed it, but thought it was longer so turned it over again. All I had to do was unstitch the second hem I did, and voila, equi-length curtains of awesomeness.
How exiting!!


*sXe = youth speak for straight edge. Yeah, I was an emo once.